If you have an Outlook email account, and you want to share your calendar with another CLU staff or faculty member, you can give them permissions to view your calendar.
Outlook 2013 and 2016
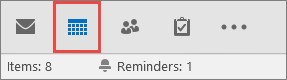
1. Click Calendar.
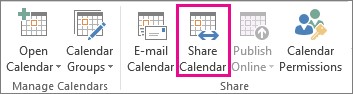
2. Click Home > Share Calendar.
3. In the email that opens, type the name of the person in your organization that you want to share your calendar with in the To box. In Details, specify the level of details that you want to share with the person in your organization, and then click Send.

4. The person in your organization receives the sharing invitation in email, and then clicks Open this calendar. The shared calendar displays in the person’s Calendar list.
Outlook 2011
CLU’s Microsoft Outlook system enables calendar sharing with others who have Exchange accounts. Your calendars can be viewed only by others to whom you have granted permissions.
To share your calendar with another Outlook user:
- On the Home tab, in the Share group, click Share Calendar.
- In the Sharing Invitation that appears, enter the person who you want to share with in the To box.
- Enter or select any other options that you want, just as if you were sending an email message.
The recipient sees an email notification that you have shared your calendar. You can also request that the recipient share his or her Outlook calendar with you.
TIP: If you want to share a calendar that you created that is not your default Calendar, in the Navigation Pane, right-click the calendar name, and then click Share calendar name.
If the other person whose calendar you want to open has not granted you permission to view it, Outlook 2011 prompts you to ask the person for the permission that you need.
After you access a shared calendar for the first time, the calendar is added to the Shared Calendars list in the Navigation Pane, where you can access it the next time that you want to view it.