Outlook Web App is the webmail service of Microsoft Exchange Server which allows users to access their mailbox (e-mail, calendar, contacts, et.) through any web browser from anywhere. Everything will remain the same with your Outlook Exchange account. It is a new design, this time is fresh and it has modern look to it. It is also more user friendly.
Below are some new features and improvements made to the Exchange.
Interface and E-mail
On the left hanbd side of the screen you have your inbox, Sent items, Drafts, Folders etc. In the center you have your e-mails. Any e-mail in blue has not been read. Right above in the header you have your Mail, Calendar, People or your Contacts, and Tasks.

One new feature with OWA is online Compose, this allows users to compose and reply to e-mails without popping out a new window. Whenever you start typing a new e-mail, it is automatically saved into the Drafts folder so you can finish composing it at a later time.
When composing e-mails you get basic formatting options by default, but if you need more, just click on the Customize drop down arrow and you will be able to add the buttons you need.
Offline Mode
Now you can use OWA and start working even if there is not network connectivity. The work you do while disconnected will then be automatically synched the next time you go online.
In the upper left hand corner, select the setting icon and select Offline settings.
Select 'Turn on offline access' and select OK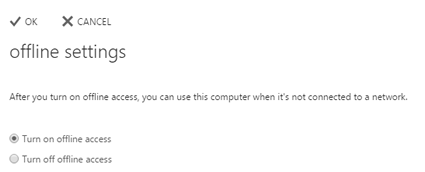
Select 'Yes' then select 'Next'
Select 'next'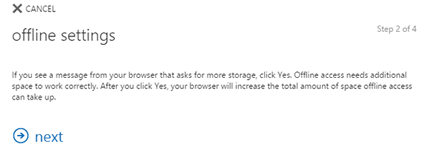
You can create a bookmark. Select Next.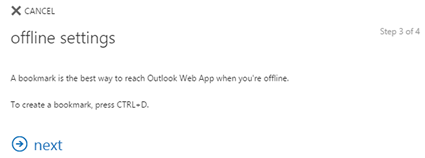
Select 'OK'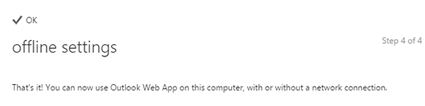
Now you are ready to work offline if you are not connected to a network.
OWA app for iOS Setup
To download the app for your mobile device or tablet, please follow these steps.
Go to your iTunes app, search for OWA and download the app.
Select 'continue'
View setup on iPad
Enter the following:
username@clunet.2k
password
Select 'sign in'
You will get the following message, select 'advanced'
Your e-mail address and password will be pre-filled. Enter the following:
Username is your CLU Username
Domain is clunet.2k
Server is outlook.callutheran.edu
Make sure the 'Server requires (SSL) connection' box is checked off the tap on 'sign in.' \
\
You will et a welcome screen, swipe with your finger to see some helpful hints
Once you have views the helpful hints, tap on 'go to inbox.'
Here is what your screen should look like on your mobile device. As you can see from the screenshot, OWA on the tablet is almost identical to the web app on your desktop or laptop.
Here are what some of the icons do:
Calendar
OWA now allows users to view multiple calendars in a merged or overlaid view. Each calendar wil have its own color, which makes it easier to distinguish between multiple users.
To view your calendar and contacts click on the go to icon in the bottom left hand corner.
After you have been given access to another user's calendar, their name will appear in the bottom left hand corner of the window, similar to your Outlook calendar on your desktop or laptop. To access their calendar, all you need to do is select the check box by their name. They are also color coordinated so that you can distinguish the calendars.
As you can see User 1's calendar is not appearing, this is because he is not checked off. Once you checked off the user the calendar will appear. The icons located in the blue header allow you to view the calendar by day, work week, week and month. You can create, delete and accept meetings.
E-mail Signature
To add an e-mail signature tap on the go to icon and select options.
Select email signatures and under 'Use my mobile signature' enter your information. Please note that you will not be able to add the new CLU logo. To save your signature, select the check mark located in the upper right hand corner.
- Logon to http://outlook.callutheran.edu
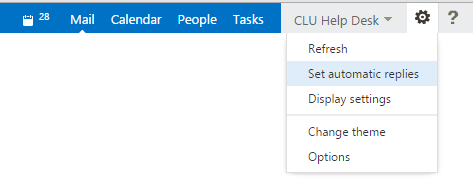
- In the upper right corner of the window, click Options and choose Set automatic replies
- Click the Send automatic replies radio button
- Configure the automatic reply (Out of Office) message or messages to suit your needs
Note: You have several options including sending a different Out of Office response for internal and external. You can also set the reply to start and end at specific times. - Click Save in the lower Left when done.
